
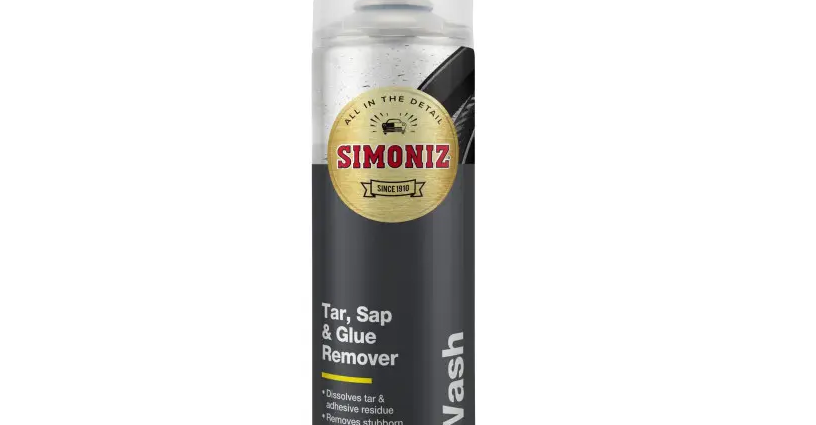
A professional valet in the UK typically runs to £60 or more for anything beyond a basic wash, and while that is fair for the time involved, most of what makes a car look genuinely well cared for can be done at home with the right technique and a modest amount of kit. Detailing, as opposed to a quick wash, is really about doing each stage properly rather than rushing through all of them, and the difference in the final result is obvious even to someone who has no interest in cars at all. This guide covers the kit worth having, the order operations should happen in, and the safety basics that are easy to overlook when chemicals are involved.
Gather the Right Kit First
The two-bucket wash method, one bucket for clean soapy water and one for rinsing the mitt before it goes back into the soap, is the single biggest upgrade most people can make over a one-bucket approach, since it stops dragging grit back across the paint on every pass. A pH-neutral car shampoo is gentler on wax and sealant than household detergent, and a dedicated wheel brush reaches behind spokes that a sponge never will. The car cleaning range has the shampoo, mitts and microfibre cloths that make up the core of a proper kit, and buying a few good ones is better value than replacing cheap ones every few months.
The Wash: Technique Matters More Than Product
Start with the wheels and arches, since they carry the dirtiest, most abrasive grime and you do not want to drag that across paintwork later in the process. A pre-wash snow foam loosens surface dirt before any cloth touches the car, which reduces the risk of fine scratching known as swirl marks.
Read More: Shipping a Car To or From Quebec
Work from the roof downward, rinsing the mitt frequently, and dry with a large, clean microfibre towel rather than letting the car air dry, since UK tap water often leaves mineral spots behind. It is a slower process than a drive-through wash, but it is the technique, far more than any particular product, that produces a genuinely glossy, scratch-free finish.
Interior Detailing: Often Neglected, Always Noticed
The interior is where most DIY efforts fall short, largely because vacuuming alone misses a lot. A set of small detailing brushes gets into air vents and stitching, a dedicated interior cleaner lifts grime from dashboards without leaving a greasy residue, and fabric or leather cleaner suited to the actual upholstery prevents damage from using the wrong product. Rubber mats and seat covers are worth replacing every couple of years rather than endlessly cleaning the same tired set, and the car accessories range is a sensible place to start if yours have seen better days.
Protecting Your Work: Wax, Sealant and Ceramic Spray
Once the paint is clean and dry, protecting it is what makes the next wash easier and keeps the finish looking fresh for longer. A traditional carnauba wax gives a warm, deep shine and suits an unhurried weekend job, while a synthetic sealant lasts longer with less effort and a ceramic spray tops either one up in minutes. Whichever you choose, apply it with a dedicated foam applicator pad and buff off with a separate, clean microfibre cloth rather than reusing the one you just washed the car with. The tools and workshop range covers the applicator pads, polishing pads and any machine polisher attachments if you decide to take detailing a step further.
Safety While You Work
Wheel cleaners in particular are often acid or alkaline based and can irritate skin on contact, so proper gloves are worth wearing rather than relying on bare hands and a quick rinse afterwards. Eye protection matters when spraying anything upward, such as under wheel arches, and working in a well-ventilated space avoids a build-up of fumes in an enclosed garage. A proper safety and PPE kit covering gloves and eye protection is a small outlay next to the cost of a trip to A&E, and it is the sort of precaution that is easy to skip right up until the one time it matters.
How Often Is Worth Doing This
A full detail along these lines, done properly, takes a good half a day the first time, though it gets quicker once you are familiar with the routine and have everything to hand. Most cars benefit from a full wash every one to two weeks depending on how they are used and parked, with a proper wax or sealant top-up every one to three months depending on which product you chose. Interior detailing can be less frequent, perhaps every couple of months for a car used for an ordinary commute, more often if it regularly carries children, pets or muddy outdoor kit. Treating it as a seasonal routine rather than an occasional emergency response to visible grime tends to produce the best long-term results, since paint and interior surfaces age far better when protection is kept topped up rather than left to wear away completely before being reapplied.
Common Mistakes That Undo a Good Wash
Even with the right products, a handful of habits quietly undo an otherwise careful job. Washing in direct, hot sunshine causes shampoo and water to dry on the panel before it can be rinsed off properly, leaving streaks and water spots that need redoing. Using the same wash mitt on wheels and paintwork cross-contaminates brake dust and grit onto surfaces it should never touch, which is exactly why a separate, clearly marked wheel mitt is worth keeping.
Read More: Jeff Wyler Service & Repair: Trusted Auto Maintenance for Long-Term Vehicle Performance
Drying with an old bath towel rather than a proper microfibre cloth is one of the most common causes of fine swirl marks, since household towels are far coarser against clear coat than they feel against skin. Finally, applying wax or sealant to a panel that is not completely clean simply traps whatever dirt is already there underneath a glossy layer, so it is always worth a final wipe-down immediately before protection goes on, however clean the car already looks.
Finally, resist the temptation to rush the drying stage simply because the hard part feels finished once the rinsing is done. Leaving water to evaporate naturally, rather than wiping it away promptly, is exactly how hard-water spots and mineral deposits etch themselves into glass and paintwork over time, and in direct sun this can happen within minutes rather than hours. A dedicated drying towel used with light, straight-line strokes rather than circular scrubbing finishes the job properly and protects the work already put into the wash and the protection applied afterwards.
The most satisfying part of learning to detail at home is how quickly the skills compound. The first full session can feel slow, but by the third or fourth the order of work becomes instinctive, the kit is organised in one place, and the time needed drops considerably. Keeping the cloths, brushes and products together in a dedicated box or crate, washing microfibres separately from household laundry, and replacing worn applicators before they start to scratch all help the results stay consistent. Over a year, that steady routine does more to protect a car’s value and appearance than an occasional expensive valet ever could, and it turns a weekend chore into something closer to a genuinely rewarding hobby.